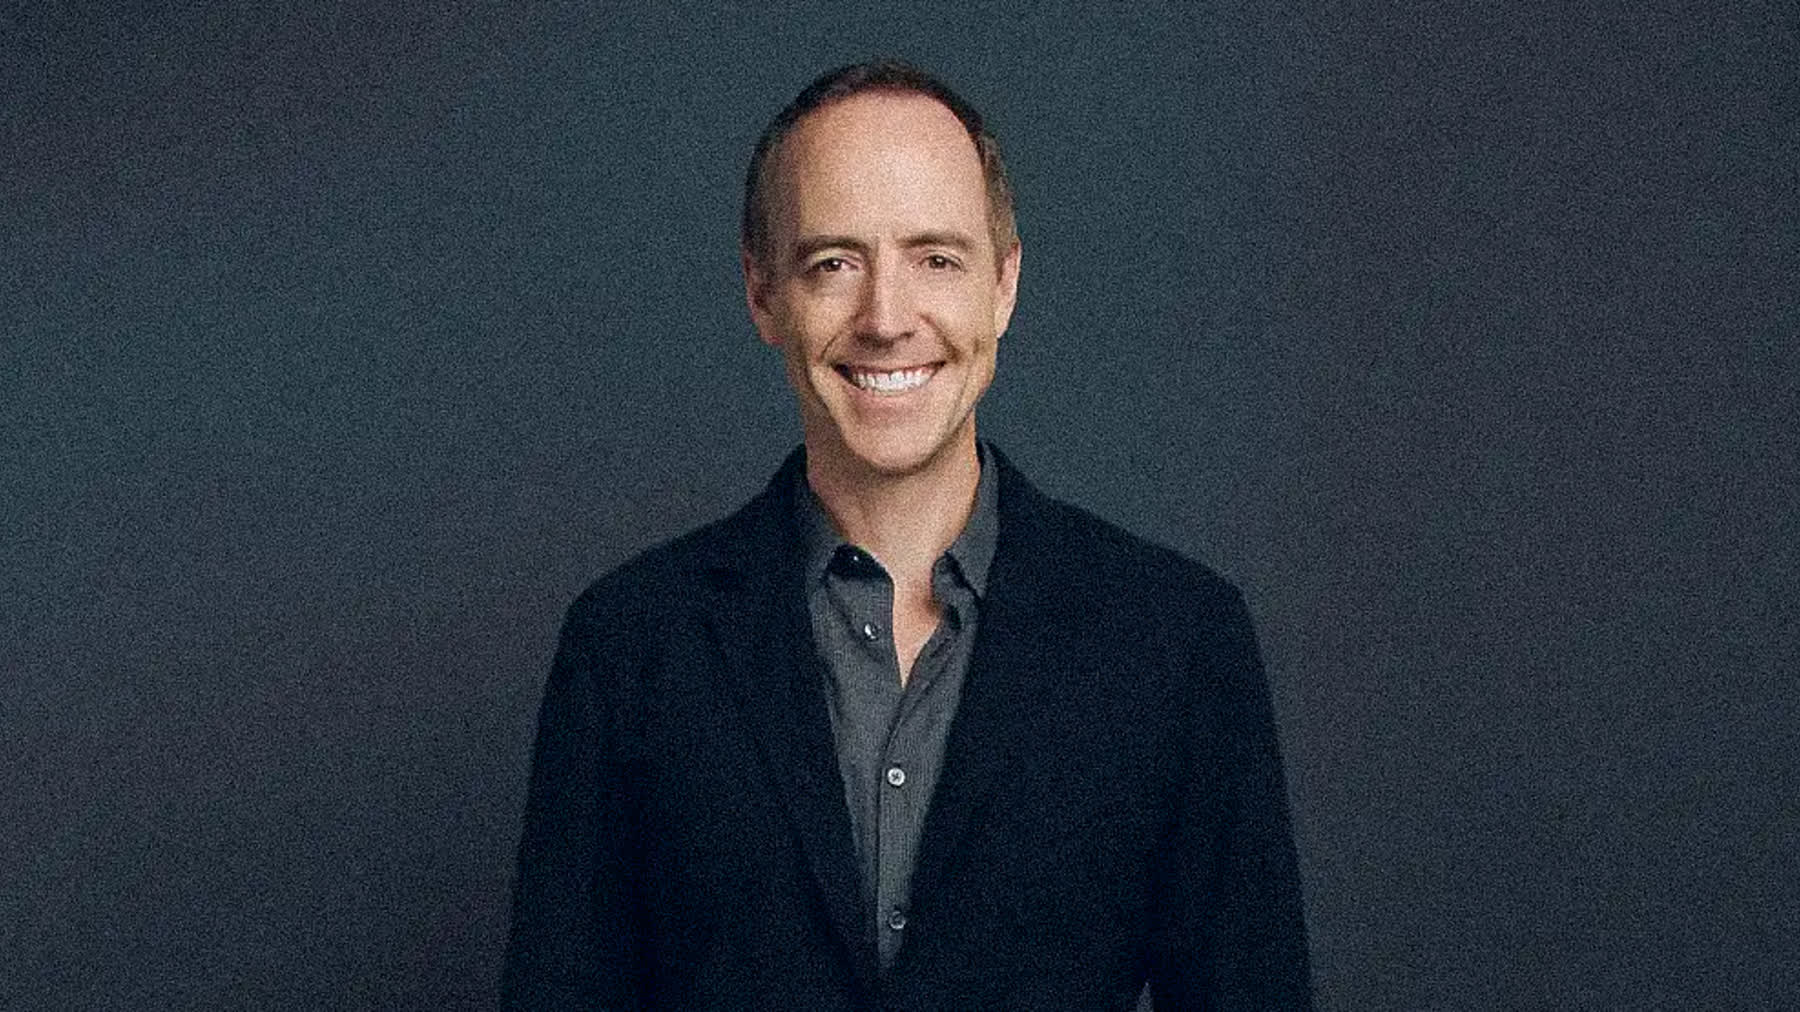
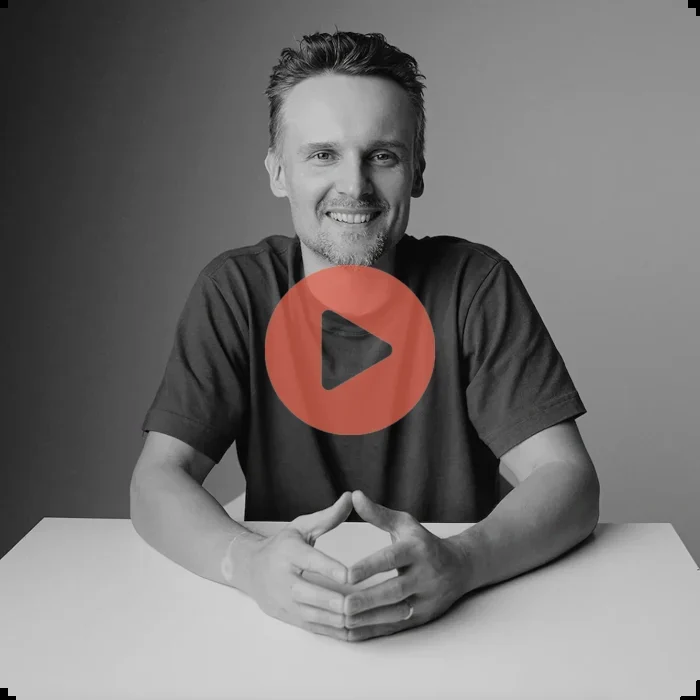
Most people search for headshot poses hoping to find a list they can memorize before a session. That instinct makes sense, but it usually backfires. A pose you hold from memory tends to look held. The face tightens, the shoulders lock, and the result reads as effort rather than ease. The better approach is to understand a few principles, then let a photographer direct you in small adjustments. This guide walks through the body, from the feet to the face, so you know what good looks like.
The truth underneath all of this is simple. A headshot is mostly about your face and your eyes. The body's job is to support that, not to perform. When the posture is settled and the angle is right, your expression has room to be natural.
Why direction beats memorized poses
A real session is a series of tiny corrections. Drop the front shoulder a touch. Bring your weight onto the back foot. Turn an inch this way. None of those are poses you could plan in advance, and that is the point.
When you arrive trying to recreate something specific, you stop listening to direction and start managing yourself. The face shows that strain. Come in relaxed, trust the guidance, and let the photographer shape the frame around how you actually carry yourself. The list below is meant to help you understand the corrections, not to perform them on your own.
Posture and where to put your weight
Start with the spine. A tall but relaxed posture reads as confidence without stiffness. The common mistake is either slumping or over-correcting into a rigid, military stance. Neither looks natural.
A few things help:
- Stand or sit tall, then let your shoulders drop down and back slightly
- Shift your weight onto one foot or hip so your body has a gentle asymmetry
- Avoid squaring your whole body flat to the camera, which can look like a mugshot
- Breathe and reset between frames so tension does not build up
That small asymmetry matters. A body turned perfectly square reads as flat and tense. A slight angle gives the frame life.
Shoulder angle
Shoulders set the foundation of the frame. Turning them a little away from the camera, then bringing your face back toward the lens, almost always looks better than facing straight on. It narrows the body slightly and creates a more dynamic line.
Which shoulder to drop depends on you and the look you want. Dropping the front shoulder softens the pose and adds ease. Keeping shoulders more level reads as steadier and more formal. This is exactly the kind of thing a photographer adjusts on the fly, which is why you do not need to solve it beforehand.
Chin forward and down
This is the single most useful idea in this guide, and the least intuitive. The instinct is to lift your chin to look confident. On camera, lifting the chin often shortens the neck and looks haughty. The fix is to push your chin slightly forward and then down, almost like leaning your forehead a touch toward the lens.
It feels strange while you do it. In the image, it sharpens the jawline, opens the eyes, and removes the look of a double chin. Done in small amounts, it is the difference between a flattering frame and an awkward one. A good photographer will cue this in tiny increments until it lands right.
Where the hands go
Hands cause more anxiety than anything else, mostly because in a tight headshot they often are not in the frame at all. When the crop is close, you can let your arms relax and forget about them entirely.
For wider framing, hands need a job. Crossed arms can read as closed or confident depending on context. A hand near the chin or jaw can work if it stays light and does not press into the face. The rule is to give hands a relaxed purpose rather than letting them float. If a pose makes your hands look tense, it will make the whole image look tense.
What to do with your face
The face is where the photo lives. Two things matter most: the eyes and a small amount of warmth. A genuine, slightly engaged expression beats a forced smile every time. Many people find their best frames come from a soft expression with active eyes, not a wide grin.
A few practical cues help. Think of something specific and pleasant right before the frame. Exhale to release jaw tension. Let a small smile reach your eyes rather than just your mouth. And remember that a photographer is reading micro-expressions constantly and will catch the frames where you look most like yourself. A consistent set of professional headshots comes from this back-and-forth, not from a single perfect pose.
Frequently asked questions
What is the most flattering headshot pose?
There is no single one. For most people, a body turned slightly off-axis, the front shoulder dropped a touch, and the chin pushed gently forward and down works well. The exact amounts depend on you.
Should I smile in a headshot?
A genuine, easy expression usually works better than a forced smile. Soft warmth with active eyes reads as confident and approachable. The right balance depends on your industry and how the image will be used.
What do I do with my hands?
In a tight crop, often nothing, since they are out of frame. In wider shots, give them a relaxed purpose near the chest or face rather than letting them hang or float.
Do I need to practice poses before my session?
No. Understanding the basics helps, but a good photographer directs you in real time. Arriving relaxed and open to direction produces far better results than rehearsing poses.
Ready when you are
You do not need to memorize a single pose. You need to show up relaxed and let the session do its work. Tell us how you will use the images and what look you are after, and we will put together a quote and guide you through the rest in the room.
Looking for professional headshots in miami? See packages and book your session.