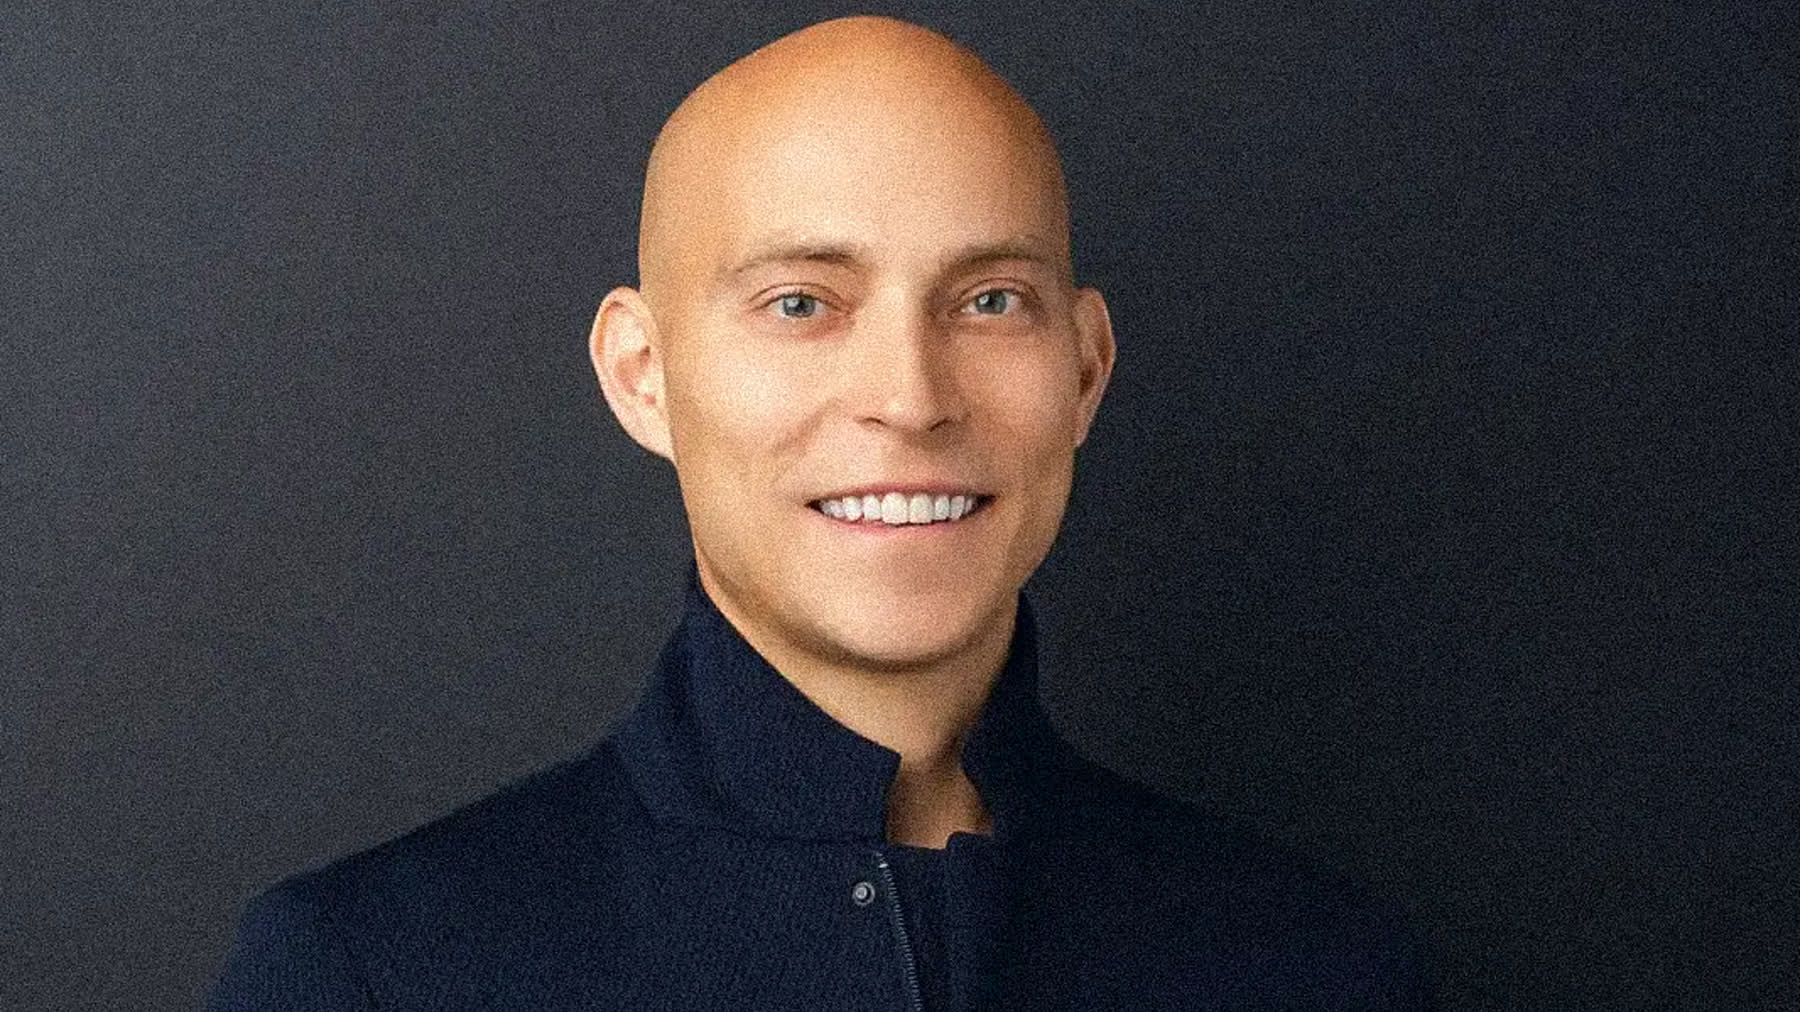
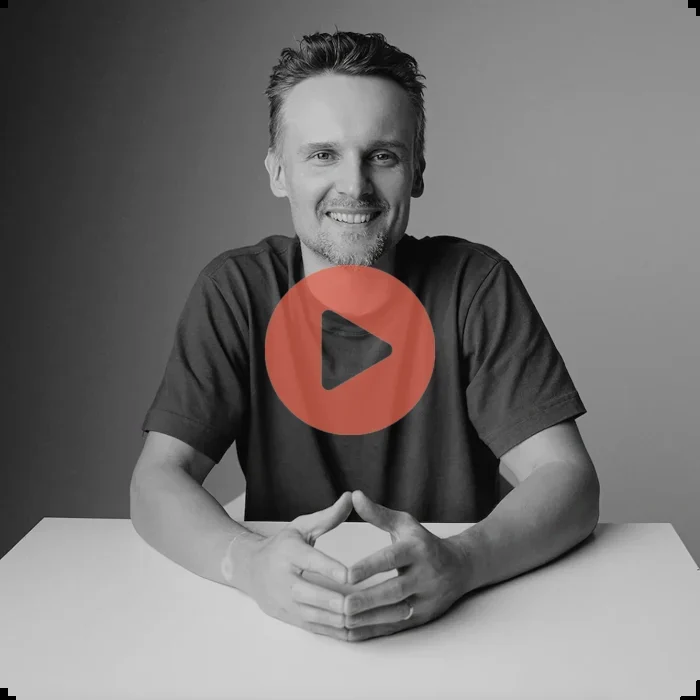
Headshot crop and framing decide how a photo reads long before anyone studies your expression. The same face, lit the same way, can feel formal at one crop and relaxed at another. Most people focus on their smile and their shirt and never think about where the edges of the frame land. Yet the crop is doing a lot of quiet work. It tells the viewer how close they are standing to you and how serious the moment is.
This guide walks through the three crops you will actually use, how aspect ratio changes the feel, and how to shoot once so the image works everywhere it needs to go.
The three crops you will actually use
There are not many useful crops for a professional portrait. Three cover almost every situation.
- Tight crop. The frame sits just above your hairline and ends around the collarbone. This reads as direct and confident. It is the look people picture when they hear the word headshot.
- Medium crop. Slightly more room above the head and the frame ends mid-chest. This feels approachable and balanced, and it fits most websites and bios well.
- Wider crop. Some space above and the frame reaches the upper arms. This reads as calm and open, and it gives a designer room to place text beside you.
Each crop sends a different message with the same expression. Tighter feels closer and more intense. Wider feels relaxed and gives the eye somewhere to rest.
How aspect ratio changes the feel
Crop is about how close the frame sits to you. Aspect ratio is about the shape of that frame, and it matters more than people expect.
A square reads as modern and balanced. It is what most social and team pages expect, and it crops in tight so your face fills the space. A vertical frame gives you height and a little breathing room above the head, which suits a website or a speaker bio. A horizontal frame leaves space on one side, which is what a designer wants when your photo sits next to a quote or a title.
The trap is shooting for one shape and then being forced to crop into another later. A square cut from a wide photo can chop your shoulders awkwardly. The fix is simple. Decide where the photo is going first, then frame for that.
Where your eyes should sit
Composition has one reliable rule worth knowing. Your eyes belong roughly a third of the way down from the top of the frame, not in the dead center.
When the eyes sit too low, the photo looks like there is too much headroom and you seem to be sinking in the frame. When they sit too high, the top of your head can feel cramped against the edge. Placing the eyes near the upper third keeps the image grounded and lets the viewer connect with your gaze first. A good photographer handles this automatically, but it helps to know what you are looking at when you review your shots.
Headroom and the chin
Two small things change a portrait more than people realize. Headroom is the gap above your hair. A sliver of space looks intentional. Too much makes you look small, and none at all feels claustrophobic. The chin is the other one. Pushing it slightly forward and down sharpens the jaw and removes the stretched look that a straight-on camera can create.
Shoot once, use everywhere
The smart move is to capture a frame wide enough to crop several ways from one file. If the original is shot a little loose, you can pull a tight square for a directory, a vertical for a bio, and a horizontal with space for a banner, all from the same session. This is why a deliberate session built around your actual usage beats a rushed one.
When we plan a sitting, we frame slightly wider than the final crop on purpose, so nothing is locked in too early. You end up with options instead of a single fixed shape. If you want to see how the same face reads across these crops, the headshots page shows the range we aim for.
Frequently asked questions
What is the most flattering crop for a headshot?
For most people a medium crop, ending mid-chest with a little headroom, is the safest choice. It reads as approachable and balanced and rarely looks too intense or too distant.
Should my headshot be square or vertical?
It depends on where it lives. Social and team pages usually expect a square. Websites and speaker bios often suit a vertical frame. The best plan is to shoot loose so you can crop both from one image.
Why does my photo look cramped at the top?
That is usually a headroom problem. Either there is no space above your hair, which feels tight, or your eyes sit too high in the frame. A small adjustment in framing fixes both.
Can a photo be cropped after the session?
Yes, as long as the original was framed with a little room to spare. That is exactly why we shoot slightly wider than the final crop and keep your options open.
If you want a set of images that frame well on every platform you use, reach out for a quote and we will plan the crops around where your photos actually need to go.
Looking for professional headshots in miami? See packages and book your session.